
There was a time when the cabinet under my kitchen sink was an absolute jumble of plastic bottles. I had a different spray for every surface: one for glass, one for countertops, one for the sink, another for stainless steel. Not only was it cluttered and expensive, but every time I sprayed them, I’d catch myself holding my breath, worried about the cocktail of mystery chemicals I was releasing into our home. That feeling is what sent me down the path to creating my own simple, effective, all-purpose cleaner, and I can honestly say I will never go back.
If you’re curious about non-toxic cleaning but feel overwhelmed by where to start, you’re in the right place. This is for the busy parent, the budget-conscious household, and anyone who just wants to simplify and feel good about the products they use. I’m going to walk you through all the common questions I get about making the switch, from the basic recipe to the science behind why it works and my absolute favorite scent combinations.
Why should I bother making my own all-purpose cleaner?
This is the question that starts it all, isn’t it? For me, the answer comes down to three things: health, simplicity, and savings. The most significant reason was to reduce our family’s exposure to harsh and often undisclosed chemicals found in many commercial cleaners. Things like phthalates, ammonia, and chlorine bleach can contribute to indoor air pollution and irritate sensitive respiratory systems. As a mom, gaining peace of mind by knowing exactly what’s in the spray I use around my kids and pets is priceless. I no longer worry about toxic residues on the surfaces where my little one eats his snacks.
The simplicity factor is also a huge win. Instead of a dozen specialized bottles, I now have one go-to spray for most of my daily cleaning tasks. It declutters my cabinets and, more importantly, my mind. It’s one less thing to add to the shopping list and one less decision to make. This small change is a perfect example of the Closer To Natural philosophy—that small, simple shifts can have a big impact on your well-being. It’s a habit that, much like finding a few healthy meal prep ideas that saved my sanity, just makes daily life feel a little lighter and more manageable.
What ingredients do I need?
You’ll be amazed by how simple the ingredient list is! You likely have most of these in your home already. This isn’t a complicated chemistry project; it’s about harnessing the power of a few simple, hardworking ingredients. You don’t need a long list of things you can’t pronounce—just these staples.
Here’s your shopping list:
- Distilled White Vinegar (5% acidity): This is the cleaning powerhouse. The acetic acid in vinegar is fantastic at cutting through grease, grime, soap scum, and mineral deposits.
- Distilled Water: You might be tempted to use tap water, but I strongly recommend using distilled. Tap water contains minerals that can leave streaks or deposits on your surfaces, especially on glass and stainless steel. Distilled water ensures a pure, streak-free finish.
- Essential Oils: This is where the magic happens! Not only do they make your cleaner smell incredible (goodbye, harsh vinegar smell!), but many also have natural antibacterial, antifungal, and antiviral properties to boost cleaning power.
- A 16 oz Glass Spray Bottle: I highly recommend using a glass bottle. Essential oils are potent and can break down plastic over time, leaching unwanted chemicals into your cleaner. Amber or cobalt blue glass is even better, as it protects the essential oils from degrading in the sunlight.
How do I make the DIY all-purpose cleaner?
Alright, let’s get to it! This will take you less than two minutes to mix up. Once you do it once, you’ll have it memorized. It’s so satisfying to create something so useful with your own two hands. My name is Laura, and this is the exact recipe I use every single week in my own home.
Here is my simple, go-to recipe for a 16-ounce spray bottle:
- Using a funnel, pour 1 cup of distilled white vinegar into your 16 oz glass spray bottle.
- Add 1 cup of distilled water. (This creates a 1:1 ratio, which is perfect for general-purpose cleaning).
- Add 20-30 drops of your chosen essential oils. (Scroll down for my favorite blends!)
- Screw the nozzle on tightly and give the bottle a gentle shake to combine everything. That’s it!
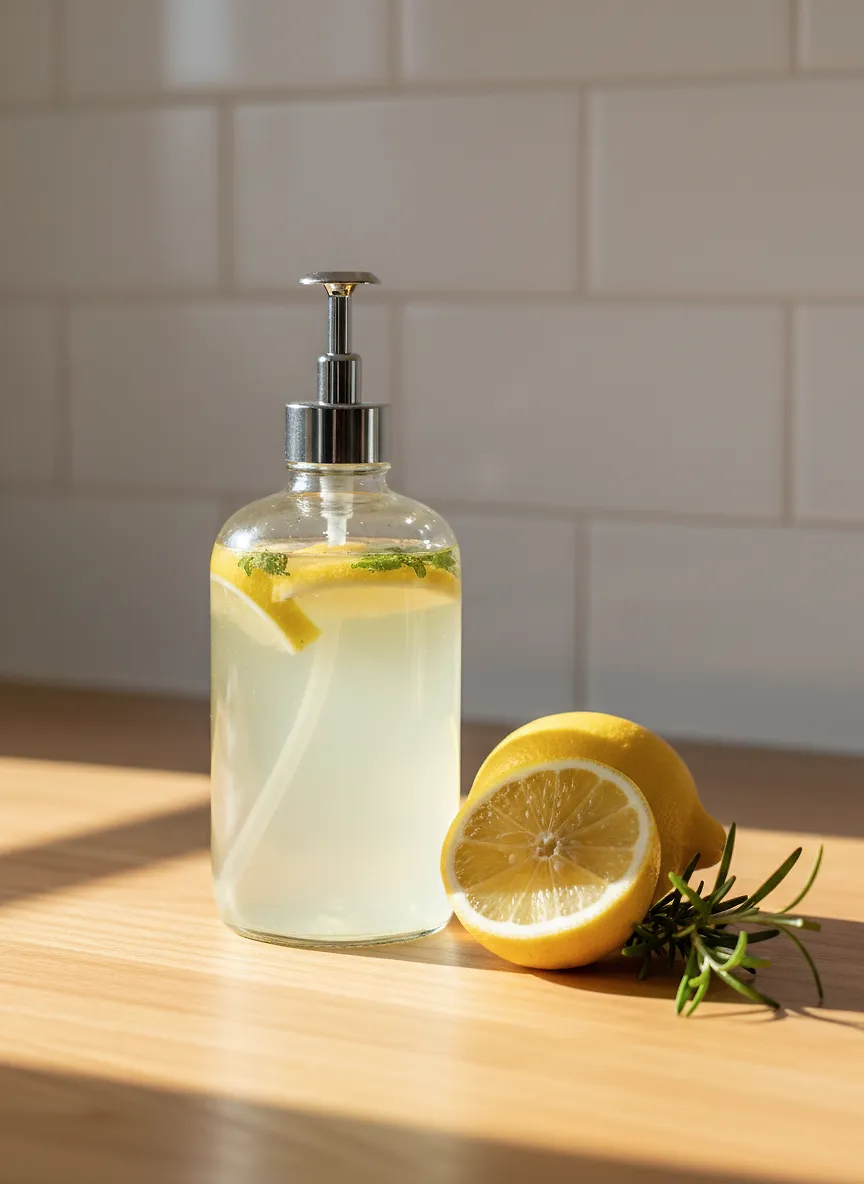
But does it *really* work as well as store-bought cleaners?
I get it—the skepticism is real. We’ve been marketed to for decades that we need chemical-laden, neon-colored liquids to get a true clean. I was a doubter myself until I saw the results firsthand. The acetic acid in vinegar is a powerful solvent that easily dissolves dirt, grease, and grime. It’s especially effective on sticky fingerprints, kitchen splatters, and soap scum in the bathroom. I was honestly shocked the first time I used it to wipe down my stove top after cooking bacon; it cut right through the grease.
Think of it this way: for centuries, before the advent of modern chemical cleaners, vinegar was a staple for cleaning and disinfecting homes. Its effectiveness is time-tested. While it might not have the suds or the synthetic “clean” smell we’ve been conditioned to expect, it absolutely gets the job done. The key is to manage expectations. This is your daily driver for wiping down counters, cleaning up spills, and shining up sinks. For deep, caked-on grime, you might need a little extra elbow grease or a sprinkle of baking soda first, but for 90% of everyday messes, this spray is all you’ll need.
Which essential oils are best for cleaning?
This is my favorite part—customizing your cleaner with the power and scent of essential oils! While nearly any essential oil will add a beautiful aroma, some are particularly well-suited for cleaning due to their natural antimicrobial properties. My researcher heart loves digging into the science behind why these plant extracts are so effective.
Here are some of the top essential oils for your non-toxic cleaning recipes:
- Lemon: A classic for a reason! Lemon oil is a great degreaser, and its bright, fresh scent is instantly uplifting. It’s known for its antibacterial and antiviral properties.
- Tea Tree (Melaleuca): This is a powerhouse. Tea tree oil is one of the most well-researched essential oils, celebrated for its powerful antibacterial, antiviral, and antifungal properties. It has a strong, medicinal scent that I find very reassuring for bathroom and kitchen cleaning.
- Lavender: Not just for relaxation! Lavender has natural antibacterial properties and leaves behind a calming, floral scent that’s wonderful for cleaning bedrooms and living spaces.
- Eucalyptus: With its potent, camphoraceous aroma, eucalyptus is a fantastic germ-fighter and a natural deodorizer. It’s especially great for bathrooms and stuffy rooms.
- Peppermint: A natural pest deterrent (spiders hate it!) with antibacterial benefits. Its energizing scent is perfect for a kitchen pick-me-up.
Can you share your favorite essential oil blends?
Of course! Blending oils is a creative way to customize the scent and function of your cleaner for different areas of your home. Here are a few of my tried-and-true combinations for a 16 oz bottle. Feel free to experiment and create your own signature scent!
Sunny Kitchen Blend
This blend is bright, uplifting, and amazing at cutting through grease and deodorizing. It’s my go-to for wiping down kitchen counters and the dining table.
• 15 drops Lemon
• 10 drops Sweet Orange
• 5 drops Peppermint
Spa-Like Bathroom Blend
This combination feels so fresh and clean. The tea tree and eucalyptus provide a powerful cleaning boost, while the lavender softens the scent into something truly lovely.
• 12 drops Eucalyptus
• 10 drops Lavender
• 8 drops Tea Tree
Four Thieves-Inspired Blend
Based on the legendary Four Thieves recipe, this blend is my top choice during cold and flu season for its powerful antimicrobial properties. It has a warm, spicy scent.
• 10 drops Clove
• 8 drops Lemon
• 6 drops Cinnamon Bark
• 4 drops Eucalyptus
• 2 drops Rosemary
What’s the difference between cleaning, sanitizing, and disinfecting?
This is such an important question! The terms are often used interchangeably, but they mean different things. Cleaning is the physical act of removing dirt, germs, and debris from a surface. Your DIY vinegar spray is an excellent cleaner. Sanitizing reduces the number of bacteria on a surface to a safe level, as judged by public health standards. Disinfecting kills nearly 100% of viruses and bacteria on a surface.
Your DIY all-purpose cleaner with vinegar and antimicrobial essential oils is a fantastic daily cleaner and a decent sanitizer for everyday situations. For me, creating a healthy home is a holistic effort. It’s about reducing the overall germ load with regular, non-toxic cleaning, and also supporting our bodies from the inside out with things like my simple, go-to elderberry syrup recipe for family wellness. For most daily messes, this approach is more than enough. However, if someone in the house is sick or you’ve been handling raw meat, you may want to follow up your cleaning with a dedicated, EPA-approved disinfectant for extra peace of mind.
Are there any surfaces I should AVOID using this on?
Yes, and this is critical! While this cleaner is incredibly versatile, it is not for every surface. The acidic nature of vinegar can damage certain materials. Honesty and safety are paramount when it comes to DIY, so please take this to heart.
Do NOT use this vinegar-based cleaner on:
- Natural Stone: This is the big one. Never use vinegar on granite, marble, limestone, travertine, or soapstone countertops or floors. The acid will etch (dull) the surface and can even cause pitting over time, leading to costly repairs.
- Hardwood Floors: While some people do it, I advise against it. The acid can strip the finish off your wood floors over time, leaving them looking dull and unprotected.
- Grout: Frequent use on unsealed grout can cause it to break down over time. If your grout is sealed, occasional use is likely fine, but be cautious.
- Electronic Screens: The acid can damage the anti-glare coatings on your phone, tablet, or computer screen.
For those sensitive surfaces like natural stone, a simple solution of warm water with a few drops of a pH-neutral dish soap (like Sal Suds or a gentle castile soap) is your safest and most effective bet.
How long does this DIY cleaner last?
Because it’s made with distilled water and vinegar (a natural preservative), this cleaner is very shelf-stable. It won’t “go bad” or grow mold. I typically make a 16-ounce batch and it lasts me a couple of weeks with daily use. There’s no need to refrigerate it; just store it under the sink or wherever you keep your cleaning supplies.
The only thing to be mindful of is the potency of the essential oils. Over a long period (many months), exposure to light and heat can cause the oils to degrade, lessening their aromatic and antimicrobial benefits. This is another reason why using a dark-colored glass bottle is a great idea—it helps preserve the essential oils for longer. But honestly, you’ll probably use it up long before this becomes an issue!
Still have questions? The world of natural cleaning is vast and wonderful. If you’re looking for more ways to create a non-toxic home, I encourage you to explore other simple swaps like using wool dryer balls or making your own soft scrub. Drop a comment below if you have a question I didn’t answer—I love hearing from you!
I hope this guide empowers you to mix up your very first bottle of homemade all-purpose cleaner. It’s a small, simple step that brings you that much closer to a healthier, more natural home.
Warmly,
Laura
